
Section 02 · Base Camp
02Day One Setup
There are only a few things you set up yourself, and they take about five minutes. Fox & Crow has already created your account and your phone number; your own job is to sign in, connect your email and calendar, and add your signature. This section walks through each step in order.
Step 1 — Sign in
Go to your CRM web address (Fox & Crow will send you the link). You'll see a single Sign in with Microsoft button. Click it, sign in with your normal work Microsoft 365 account, and you're in — there's no separate CRM password to remember.
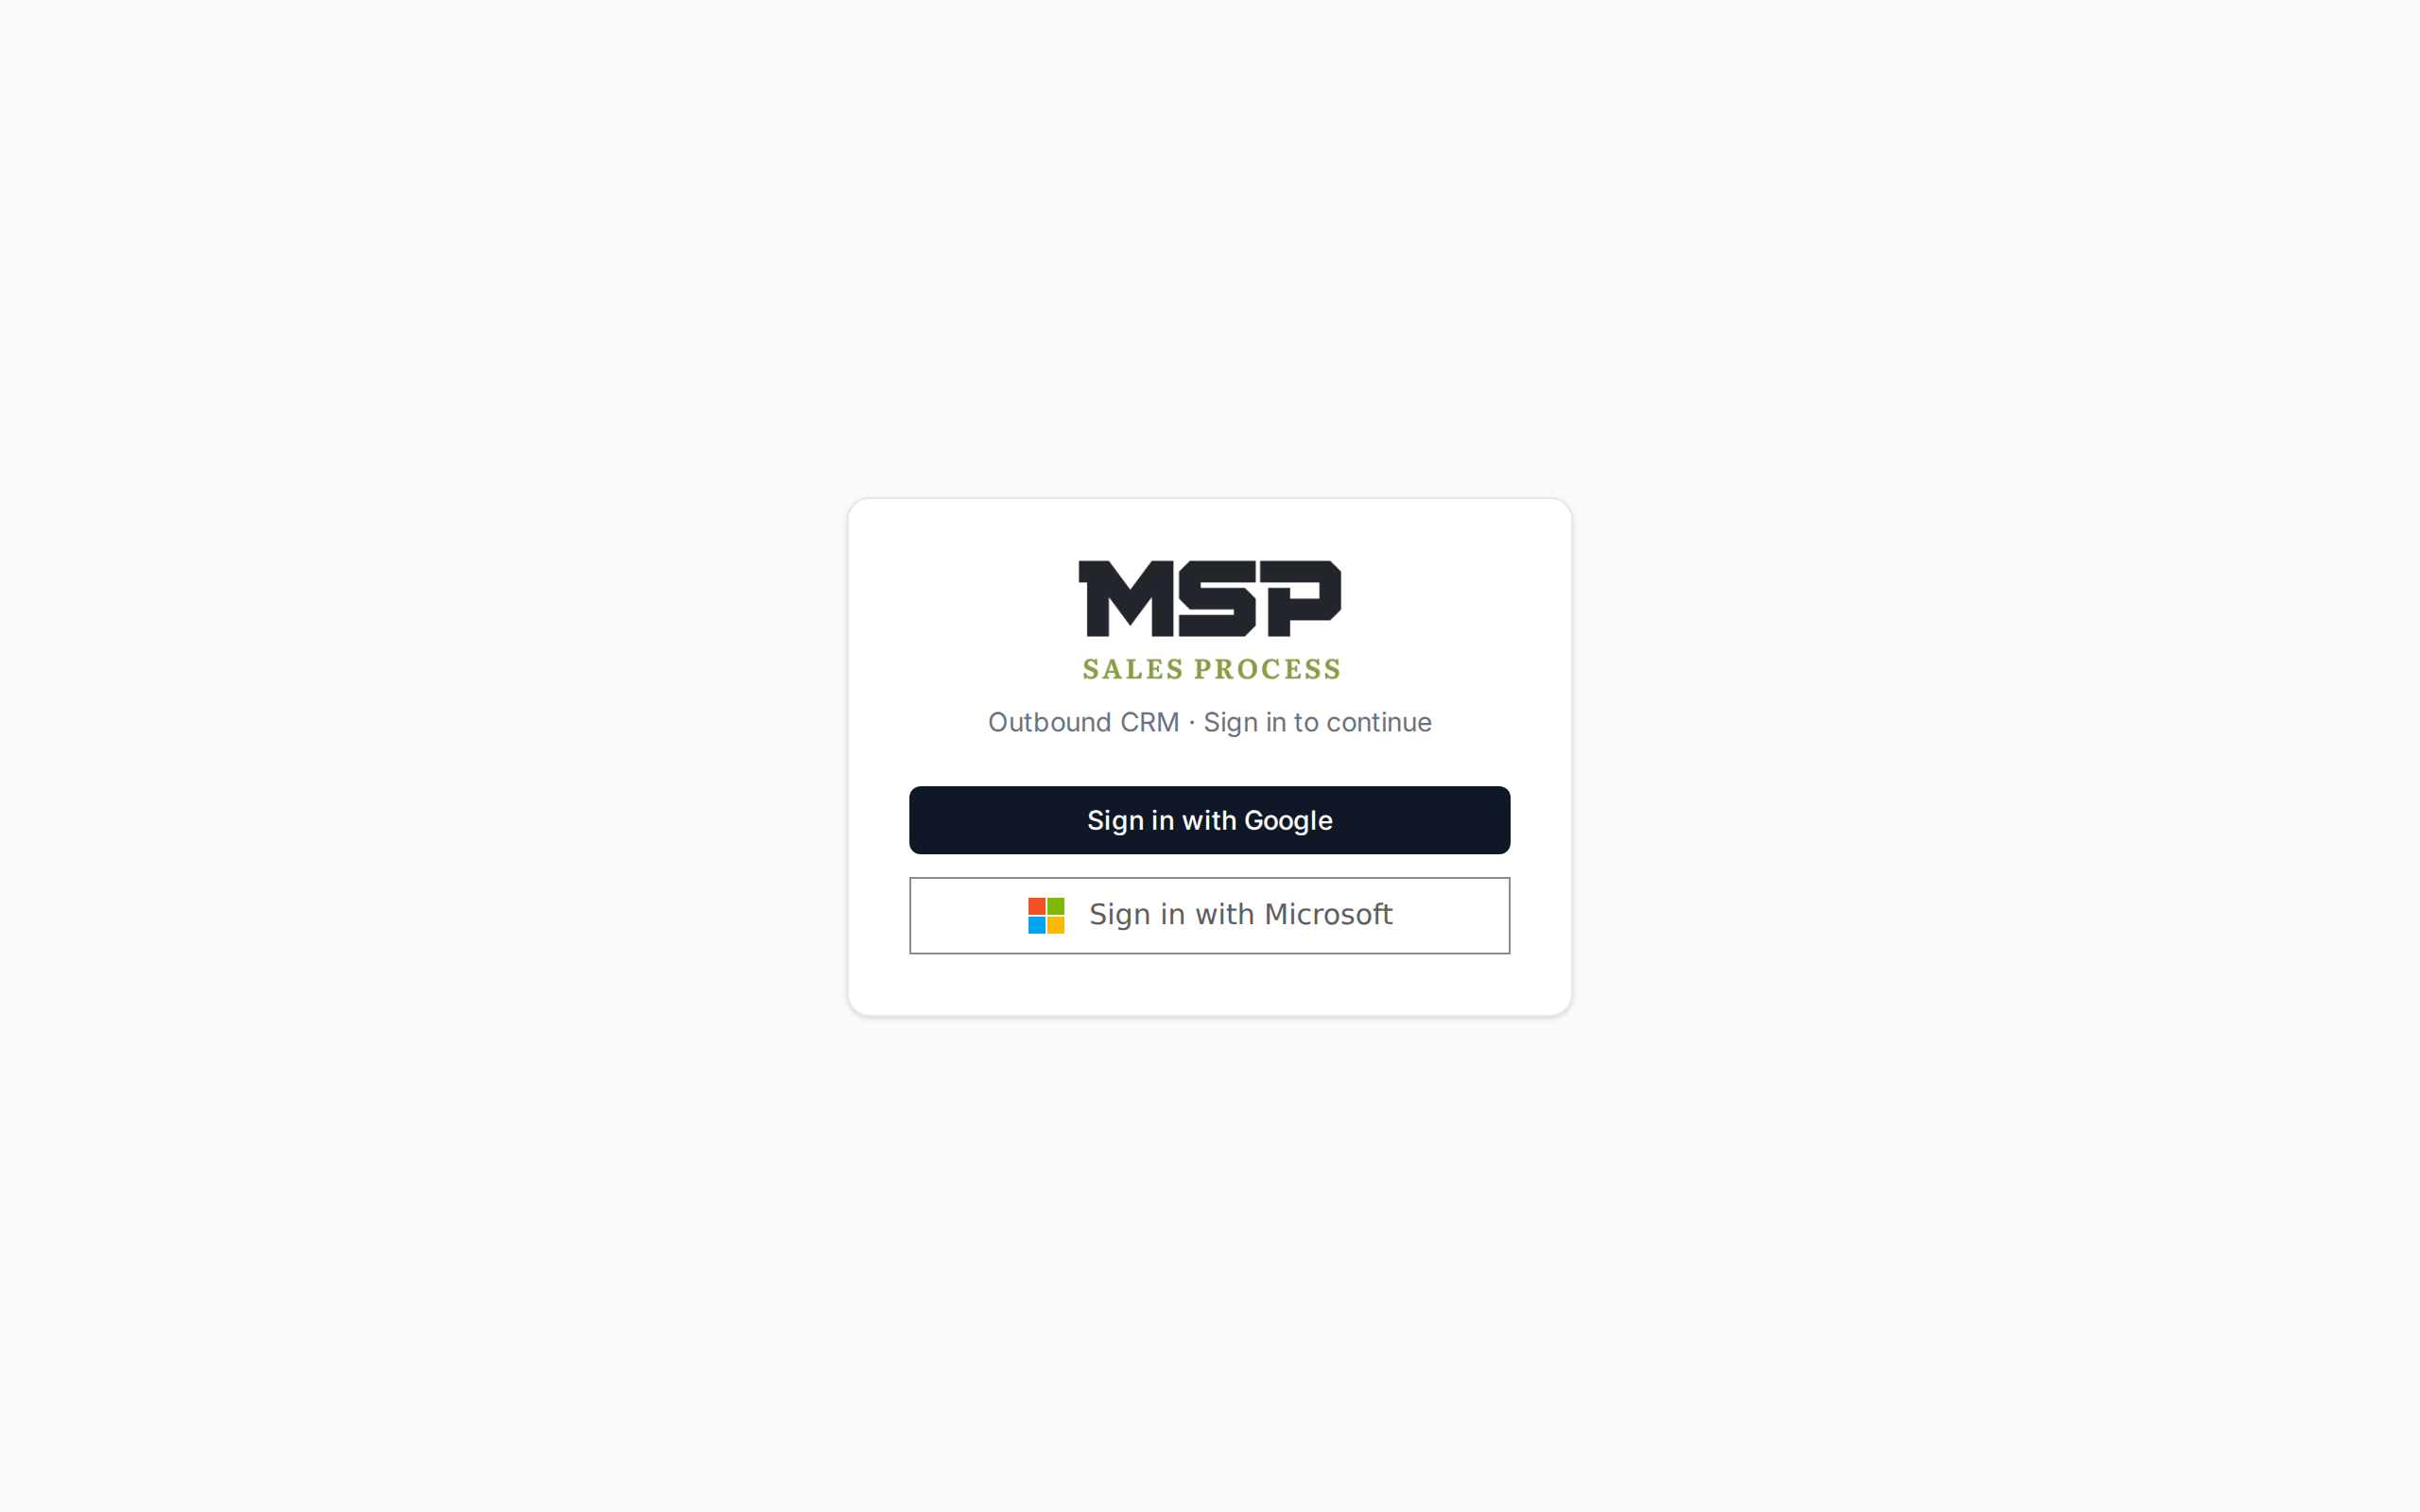
Figure 2.1The sign-in page. You use your existing Microsoft 365 account — no new password.
Fox & Crow sets this up
Your invitation and your role in the system are created for you. If the sign-in button gives an error about permissions, it usually means your IT team hasn't finished authorizing the app in your Microsoft tenant yet — that's a one-time step covered in the Leadership guide's IT appendix. Let your admin know and they'll clear it.
Step 2 — Connect your email and calendar
Signing in lets you use the CRM. To let it send email and calendar invites on your behalf, you connect your Microsoft 365 account once more, granting those specific permissions. Click the plug icon in the top bar (its tooltip says Integrations), or go to Settings → Integrations.
On the Microsoft 365 card, click Connect Microsoft 365 and approve the request. When it's done you'll see three green check marks:
- Send email — you can send and reply from your mailbox inside the CRM.
- Calendar invites — appointments you book create real calendar events.
- Teams meetings — meeting links are generated automatically when you need them.
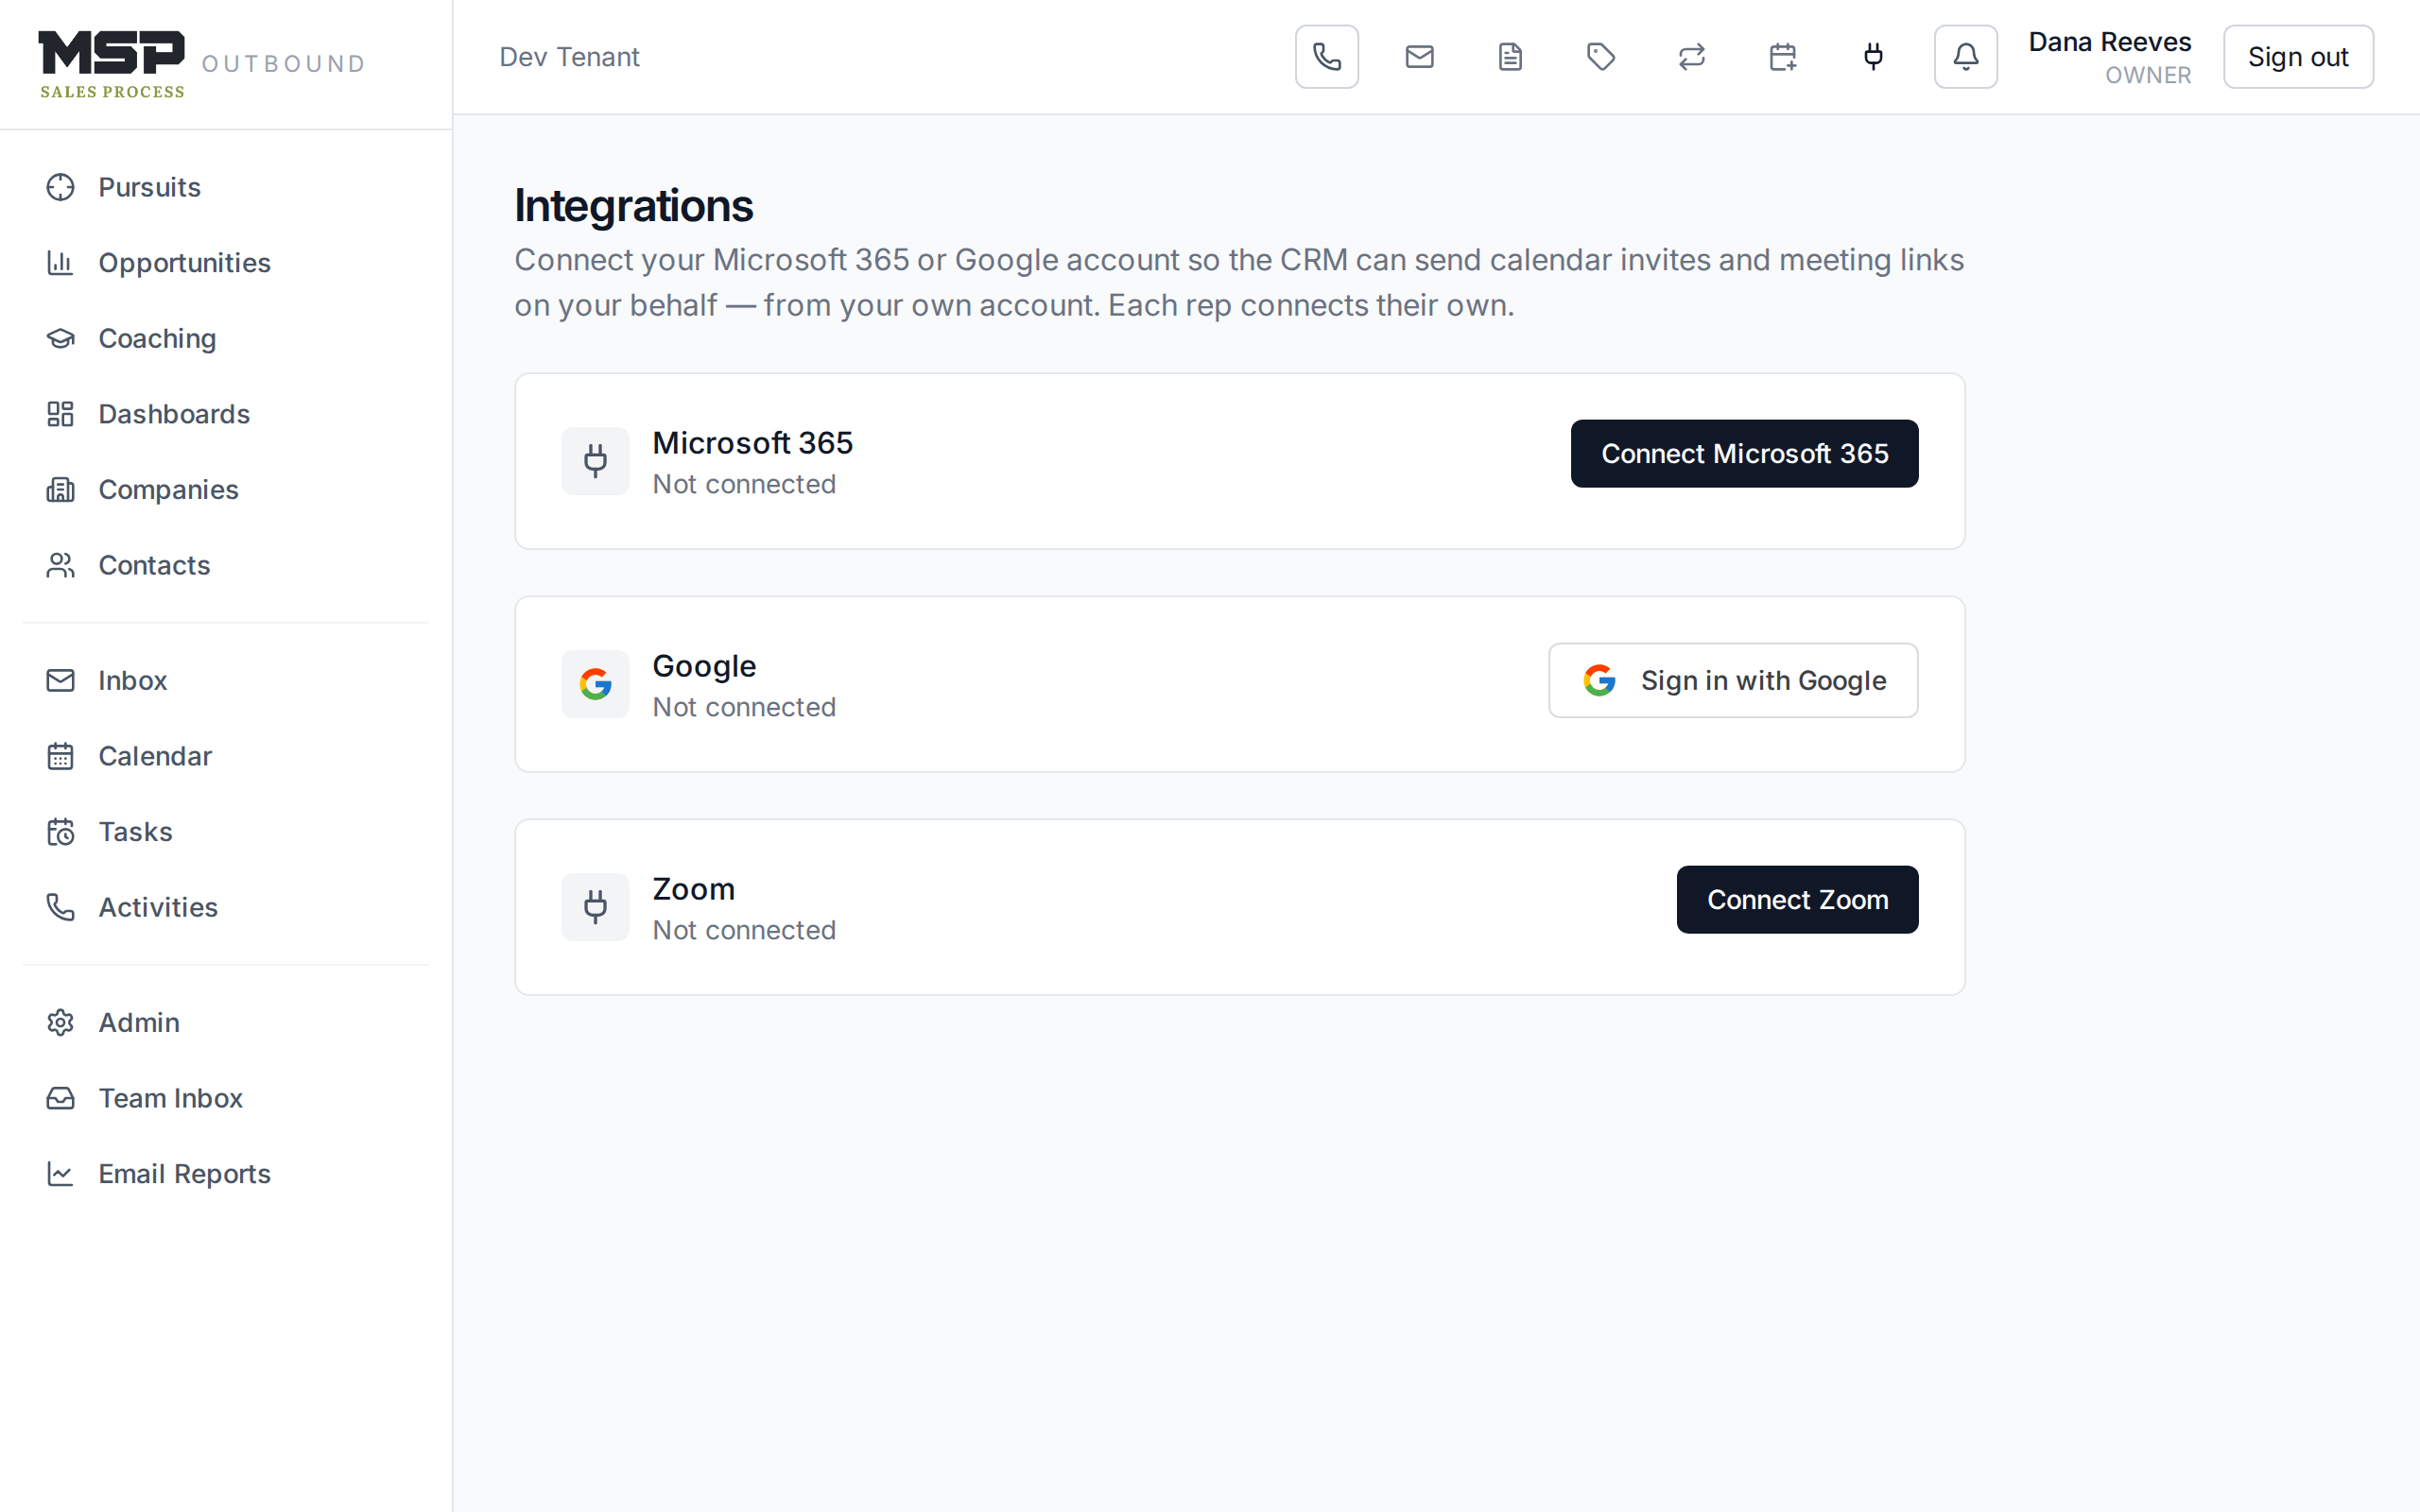
Figure 2.2Integrations, once connected. Click Test connection any time to confirm it's still working.
Good to know
Each rep connects their own account — the CRM always sends as you, from your real mailbox and calendar, never from a shared robot address. If you ever need to re-authorize (for example after a password change), the button simply reads Reconnect.
Step 3 — Add your email signature
Click the Email settings icon in the top bar (or go to Settings → Email) and fill in the Signature box, then Save signature. It's added automatically to the bottom of new emails, replies, and forwards — and you can still edit or remove it in any individual message before sending.
Step 4 — Check your dialer
Click the phone icon in the top bar to open the dialer. If it says Ready to dial, your number is live and you're set. If it says "No number assigned — a setup step was missed," tell your admin; your direct-dial number just needs to be attached. The dialer itself is covered fully in Section 07.
Fox & Crow sets this up
Your phone number is purchased and assigned by Fox & Crow — you don't buy or configure it. The same goes for call recording (a single organization-wide setting) and any shared prospecting mailbox your team uses for cold outreach.
Optional — Turn on your self-scheduling page
The CRM can give you a personal booking link that lets prospects pick an open time straight from your calendar. It's off until you turn it on. If your team uses it, see Section 11 for the two-minute setup; there's no rush to do it on day one.
The bottom line
Sign in, connect, sign your name.
Four short steps and you're ready to dial. Everything heavier — your number, your access, the org settings — is already handled for you.